Free Talking Photo AI: Animate Faces & Bring Images to Life
Animate Faces & Bring Images to Life
Turn any portrait into a speaking character in seconds with realistic lip-syncing, natural facial expressions, and high-fidelity audio.
Trusted by creative teams at
Talking Photo
Cost: 50 Credits
0/500 characters
Talking Photo Preview
Upload portrait → Enter script → Watch it speak
Introduction
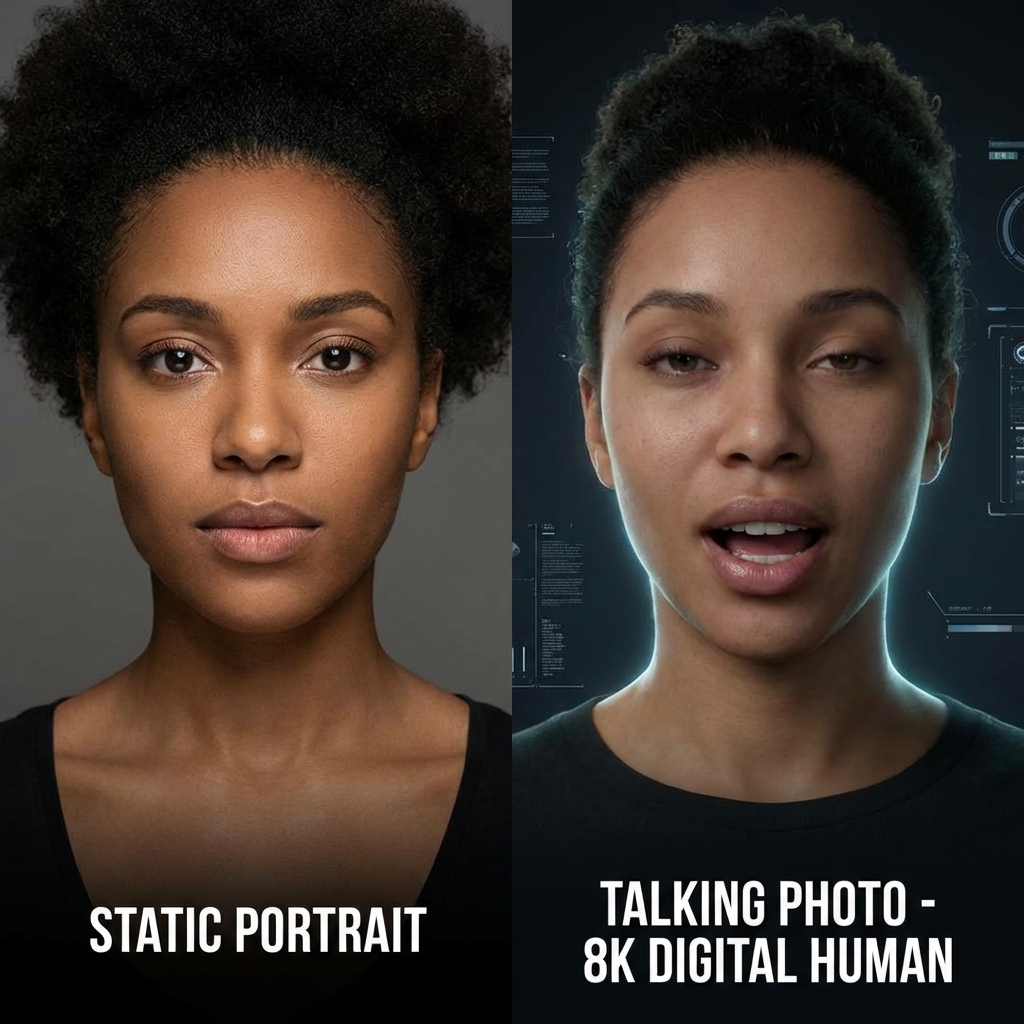
In the rapidly evolving landscape of digital content, static images are no longer enough to capture the fleeting attention of modern audiences. Whether you are scrolling through TikTok, Instagram, or exploring YouTube Shorts, movement is the currency of engagement. For creators, marketers, and casual users alike, the challenge has always been the same: how do you bring a still image to life without expensive animation software or professional video editing skills? The answer lies in the revolutionary technology of talking photo generation.
FlowVideo AI introduces a seamless, free-to-use solution that transforms your static portraits into dynamic, speaking characters. Imagine taking a historical photo, a selfie, or even a generated AI character and giving it a voice. With just a few clicks, you can synchronize audio with facial movements, creating a hyper-realistic video that speaks your script. This isn't just about animation; it's about checking the pulse of your audience and delivering content that speaks—literally.
The ability to create a talking photo democratizes video production. In the past, creating a "talking head" video required a camera, lighting, a microphone, and a willing actor. Now, it requires only a single image file and a few lines of text. This shift allows for unprecedented creativity. You can resurrect historical figures to teach history in their own "voice," create virtual influencers who never age, or simply send a hilarious singing birthday card to a friend.
By leveraging advanced machine learning algorithms, our tool bridges the gap between still photography and video production. It serves as a powerful entry point into the broader ecosystem of AI video creation. If you are looking to explore more complex video synthesis, such as turning written scripts into full scenes, you might want to explore our comprehensive [Text to Video AI](/make/script-to-video-ai) suite. However, if your goal is to make a single face speak with emotion and accuracy, you are in the right place.
Why Use Talking Photo AI? (Deep Dive)
Unmatched Engagement and Viral Potential
The Technology Behind Talking Photos

Facial Landmark Detection
When you upload an image, the AI first analyzes the geometry of the face. It uses a computer vision technique to identify 68 to 106 specific "landmarks"—points on the lips, jaw, eyes, eyebrows, and nose bridge. This creates a mesh map or a "wireframe" of the subject's face. Unlike simple 2D warping, our lip sync AI models understand the underlying 3D structure of the head. This ensures that when the mouth opens to speak, the jaw moves naturally, and the skin stretches realistically, maintaining the likeness of the original subject rather than just distorting pixels.
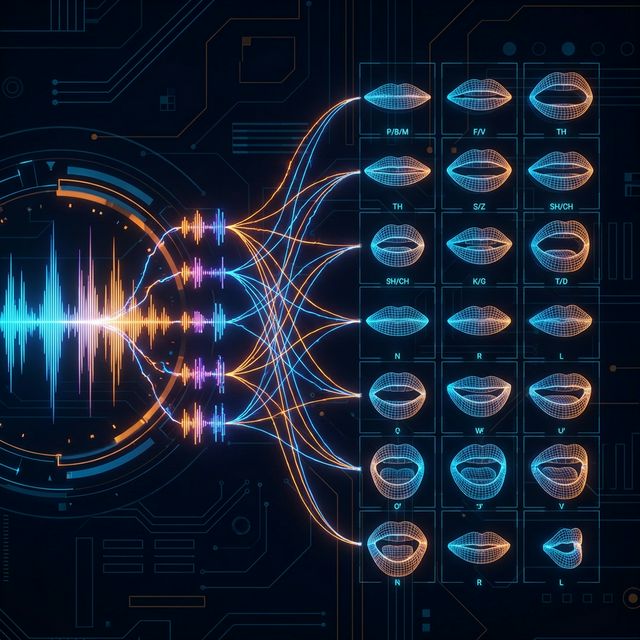
Audio-Visual Mapping (Phoneme to Viseme)
The second half of the equation is the audio processing. The system analyzes the input audio (or converts your text to speech) to extract phonemes—the distinct units of sound in speech (like the 'b' in 'bat' or the 'th' in 'thing'). The AI then maps these phonemes to "visemes," which are the visual shapes the mouth makes when producing those sounds. This mapping is what creates the lip service or lip-sync effect. Advanced models also analyze tone and volume to adjust the expressiveness of the face; a loud shout might trigger wider eyes, while a whisper might result in subtler movement.
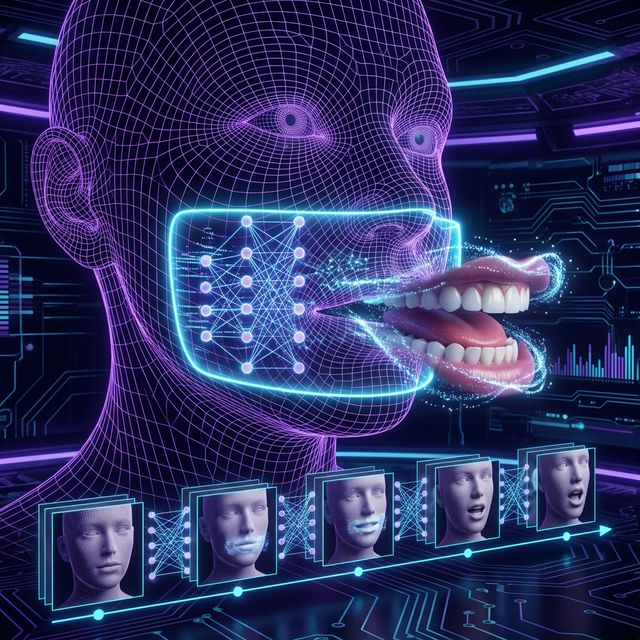
Generative Synthesis (The Rendering)
FlowVideo AI uses a sophisticated Generative Adversarial Network (GAN) to synthesize the pixels between the frames. As the mouth moves, the AI regenerates the texture of the lips, teeth, and surrounding skin to ensure there are no artifacts or "tearing." The result is a smooth, continuous video where the head may nod and eyes may blink, mimicking natural human behavior. We employ a "temporal consistency" module that ensures the face doesn't flicker or morph strangely between frames, a common issue in early Deepfake technology. This complex interplay happens in seconds on our cloud servers, delivering a ready-to-download video to your browser.
Step-by-Step Guide: How to Use the Talking Photo Generator
Step 1: Upload Portrait
Begin by locating the "Upload Portrait" panel on the left side of the interface. This is your canvas. Click the upload area to browse your device or drag and drop your desired image file. We support high-resolution JPG, PNG, and WebP formats. Microscope Detail: For the absolute best results, choose a photo where the subject is facing forward or slightly off-center. Ensure the face is fully visible and not obstructed by hair, glasses, or shadows. A "head and shoulders" shot works best because it gives the AI enough context for head movement without needing to hallucinate body parts. Avoid full-body shots as the facial resolution might be too low for accurate lip-syncing. Once uploaded, the system will verify the face; a green checkmark indicates the face was detected successfully. Pro Tip: If creating a character, use our "AI Image Generator" first to create a perfectly lit, high-definition face, then import it here.
Step 2: Input Your Script or Audio
Navigate to the text input section labeled "Type what they should say." This is where you give your photo a voice. You have two options here: Text-to-Speech (TTS) or Audio Upload. Microscope Detail (Text): If typing text, you can enter up to 500 characters for the free tier. Choose from our diverse library of AI voices—we offer various accents, genders, and tones (e.g., Cheerful, Serious, News Anchor). Listen to samples before selecting to ensure the voice matches the face (e.g., don't put a deep bass voice on a child's photo). Microscope Detail (Audio): If you prefer ultimate realism, you can upload your own pre-recorded audio file (MP3 or WAV). This is perfect for dubbing your own voice onto a celebrity photo or a character. Ensure your audio is clear, with minimal background noise. Background music in the source audio can confuse the lip-sync engine, so add music after generation in a video editor.
Step 3: Configure Animation Settings (Optional)
Before generating, check the advanced settings (if available in your tier). You may be able to adjust "Expression Strength" or "Head Movement". Microscope Detail: "Head Movement" controls how much the avatar bobs and weaves while talking. A setting of 0 keeps the head perfectly still (good for news anchors), while higher settings add natural swaying (good for conversational videos). "Expression Strength" exaggerates the mouth shapes; useful if you are making a cartoon or caricature video.
Step 4: Animate Photo
Once your image is loaded and your script is ready, click the primary "Animate Photo" button. This triggers the generation process. Microscope Detail: You will see a progress bar indicating the status of your request. Behind the scenes, our GPU cluster is analyzing the audio waveform and modifying your image frame by frame. This process typically takes between 10 to 30 seconds depending on the length of the audio. Do not close the tab during this process. The system is stitching together the visual and auditory data to create a seamless output.
Step 5: Preview and Download
When generation is complete, a 3-second preview of your talking photo will appear in the workspace. Microscope Detail: Watch the preview to check the synchronization. Does the mouth move in time with the words? Is the expression natural? If you are satisfied with the short preview, you will be prompted to "Go to Workspace" or "Download Full Video" to get the complete file. The final video will be watermark-free (for pro users) and in high-definition MP4 format, ready for immediate upload to TikTok, Instagram Reels, or YouTube Shorts.
Comparison: Traditional Animation vs. Talking Photo AI
| Feature | Traditional Facial Animation | FlowVideo Talking Photo AI |
|---|---|---|
| Time Required | Days or Weeks | Seconds |
| Cost | $$$ (Professional Animators) | Free / Low Cost |
| Skill Level | Expert (Maya, Blender) | Beginner (No skills needed) |
| Realism | Depends on artist skill | Photorealistic |
| Scalability | Low (One by one) | Infinite (Automated) |
Industry Use Cases
Social Media & Entertainment
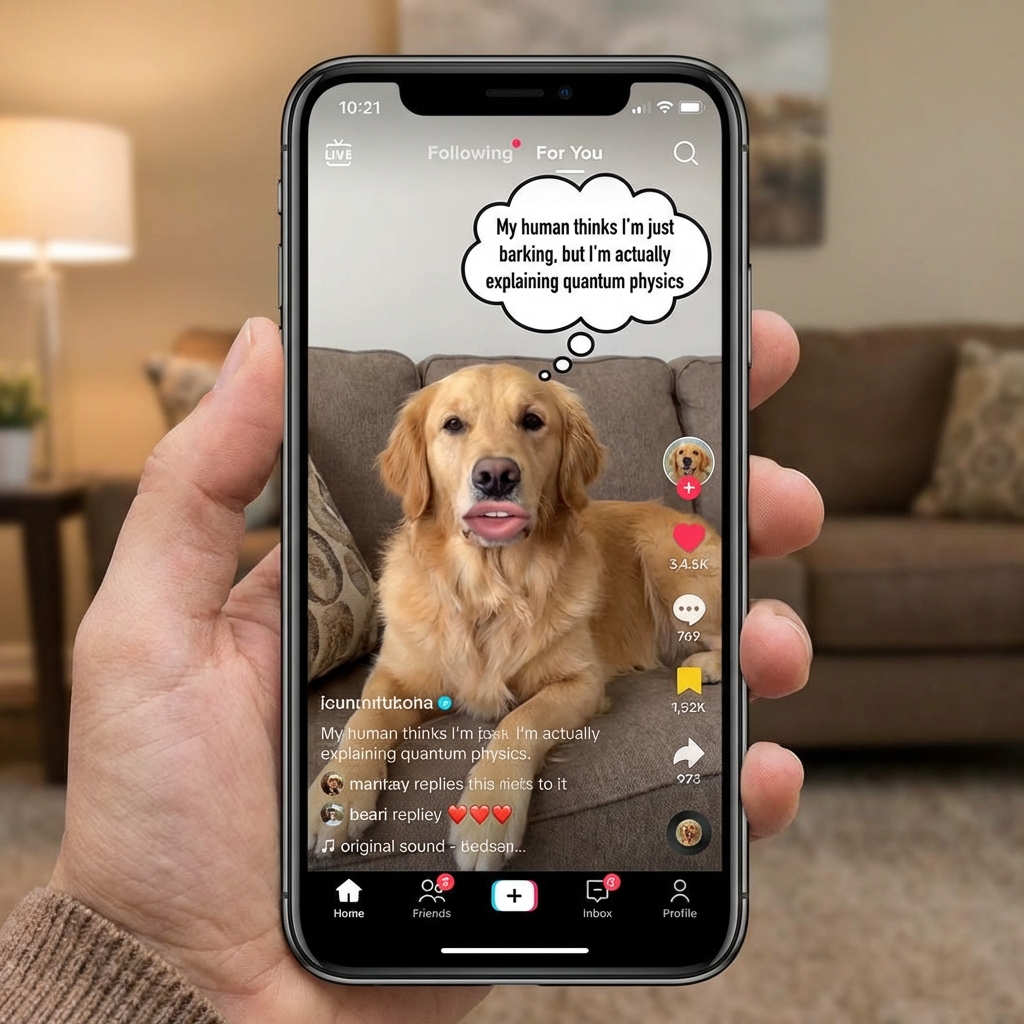
This is the most obvious use case. Creators use talking photos to make historical figures "sing" trending songs, or to animate memes for reaction videos. It adds a layer of absurdist humor or impressive tech-flex that drives shares and likes. A perfectly timed "talking pet" video can go viral overnight.
Education and E-Learning
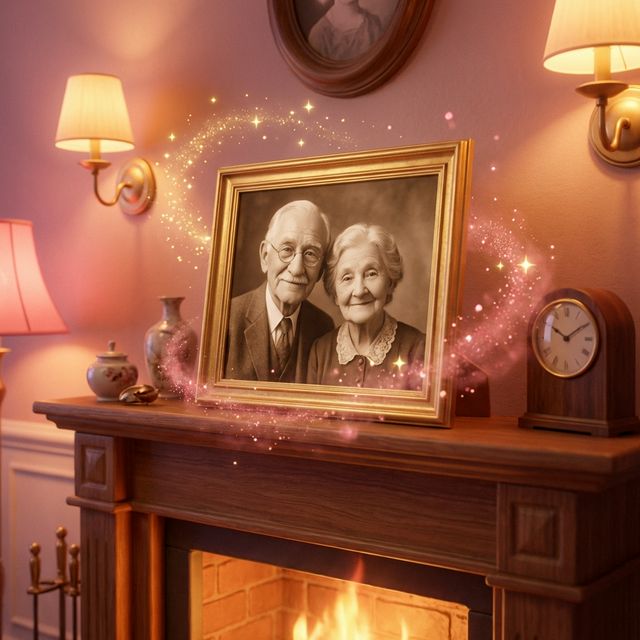
Teachers can bring history to life by having a photo of Abraham Lincoln deliver the Gettysburg Address, or Einstein explaining relativity. Language learning apps use talking avatars to demonstrate correct mouth shapes for pronunciation. It transforms static textbooks into interactive media experiences for students, increasing retention rates.
Customer Service & Corporate Training
Companies can create virtual onboarding buddies using photos of the CEO or HR representatives. Instead of reading a boring PDF manual, new employees can watch a video where a friendly avatar explains company policies. In customer service, talking photos can be integrated into chatbots to provide a more "human" face to automated support, reducing frustration.
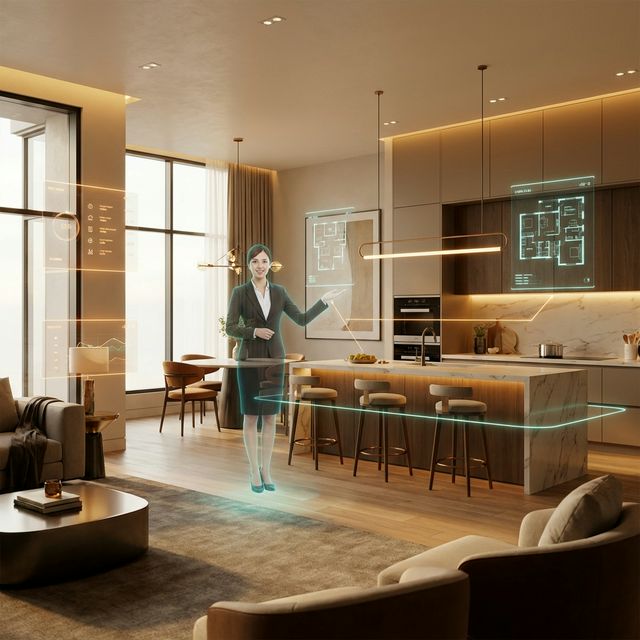
Real Estate and Sales
Real estate agents can take a static photo of themselves and animate it to introduce a property listing video. This personal touch builds trust with potential buyers before they even meet the agent in person.
What Users Are Saying
Creators revolutionizing their content strategy.
Mike T.
History Teacher
“My Lincoln talking photo has been viewed 500K times. Students actually pay attention now.”
Lisa R.
Social Media Manager
“Our product explainer avatars get 3x engagement vs static images. Game changer.”
James P.
Podcast Host
“I create video teasers from my own voice + stock photo. No filming required.”
Troubleshooting Common Issues
The mouth looks blurry or distorted
Use an HD image (at least 1080x1080). Choose a source photo where the subject's mouth is closed and their expression is neutral.
The lips are not syncing with the audio
Clean your audio using a noise reduction tool before uploading. Ensure the voice is prominent and clear.
The face shape warps weirdly
The AI works best with frontal views (0 to 30 degrees rotation). Avoid side profiles.
Frequently Asked Questions about Talking Photo
Talking Photo AI: Turn Any Portrait into a Speaking Character Online
From Still Frame to Spoken Word in Seconds
Portrait photography captures a single frozen moment, but audiences now expect motion. A talking photo bridges that gap by applying facial animation and audio synchronization to any headshot, selfie, or illustrated character. FlowVideo processes the uploaded image through a facial landmark mesh, identifies the jaw, lips, and eye regions, and then generates frame-by-frame video where the mouth shapes match the supplied audio. The entire pipeline runs on cloud GPUs, so there is no software to install and no rendering queue on your own machine. Upload an image, paste a script or drag in an audio file, and the finished MP4 is ready inside thirty seconds.
Lip-Sync Accuracy Across Languages and Accents
Because the lip sync engine works at the phoneme level rather than parsing grammar, it handles every spoken language the same way. A Mandarin voiceover, an Arabic narration, or a French sales pitch will all produce accurate viseme mappings. FlowVideo extracts sound units from the waveform, converts them into mouth shapes, and blends those shapes across consecutive frames to avoid the jitter that plagues older deepfake tools. Creators who produce multilingual social content can reuse the same portrait across markets, swapping only the audio track each time. The result looks native in every language because the physics of speech, not the dictionary, drives the animation.
Practical Workflows for Marketing Teams
A product manager preparing a launch video no longer needs to book a studio. She uploads a brand-approved headshot of the spokesperson, types the announcement copy, selects a voice that matches the brand tone, and exports a polished talking photo video in under a minute. Because generation is near-instant, A/B testing different scripts or voice styles costs nothing extra. E-commerce stores embed these clips on product pages to boost dwell time. Email marketers attach short talking photo greetings to re-engagement campaigns. Real estate agents animate their listing photos so a friendly face introduces each property. The shared advantage is speed: content that once required a half-day shoot now takes the length of a coffee break.
Education and Accessibility Use Cases
History teachers animate portraits of historical figures so students hear the Gettysburg Address delivered by a moving Lincoln rather than reading it off a slide. Language instructors demonstrate correct mouth positioning for difficult phonemes by generating a talking photo that repeats target words slowly. Accessibility specialists create sign-language companion videos where an avatar mouths the words alongside a human signer, giving deaf and hard-of-hearing learners a dual reference point. Corporate trainers replace static PDF manuals with short avatar-led walkthroughs, which research consistently shows improve information retention compared with text-only formats.
Quality Tips for Photorealistic Results
Source image quality determines output quality. Choose a front-facing portrait shot at 1080 pixels or higher where the mouth is closed, the lighting is even, and no hands or hair obscure the lower face. Avoid extreme side profiles because the AI must infer the hidden side of the mouth, which introduces artifacts. For audio, record in a quiet room or use the built-in text-to-speech engine, which outputs clean waveforms optimized for the lip sync model. If you upload a voice recording, strip background music first so the phoneme detector can isolate speech clearly. Following these guidelines consistently produces talking photo output that viewers mistake for real filmed footage.
Privacy, Ownership, and Responsible Creation
Every talking photo you generate belongs to you, provided you hold rights to the source image and audio. FlowVideo does not claim ownership of user-created content and does not store your media beyond the active session unless you explicitly save it to your workspace. Responsible use matters: animating a public figure to say words they never spoke raises ethical questions, so creators should label synthetic media clearly. The tool is designed for legitimate purposes such as marketing, education, entertainment, and personal messaging. When used thoughtfully, a talking photo becomes a powerful storytelling device that respects both the creator and the audience.