Text-to-image tools have moved from research curiosity to daily utility. Designers use them for mood boards, marketers for ad variations, and developers for placeholder assets. FlowVideo's ai image generator sits in this space as a browser-based tool that turns written descriptions into images -- no local GPU required, no software to install.
This guide covers what the tool actually does, where it works well, where it has limits, and how to get consistent results. If you have tried other ai image generators and found them unpredictable, the techniques below should help you write better prompts and pick the right settings on the first try.
We will walk through resolution options, aspect ratio choices, model selection, style controls, and batch workflows. By the end you will have a working method for producing images that match a specific brief rather than just generating random outputs.
What Happens After You Hit Generate
STEP 01
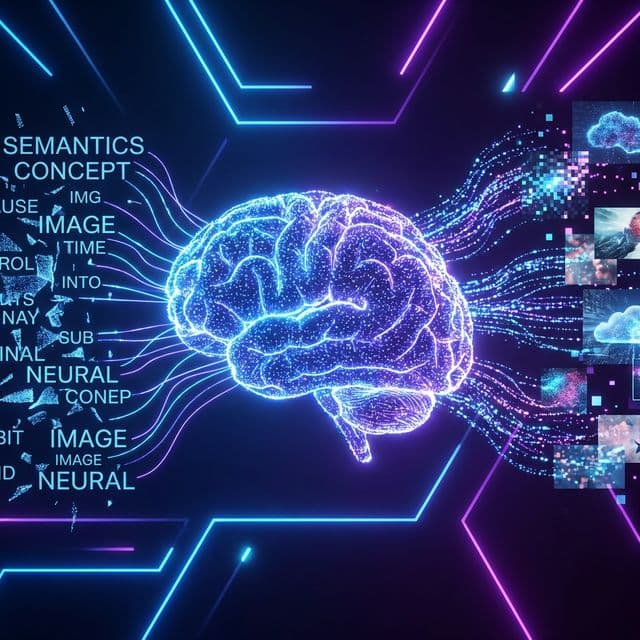
Prompt Parsing and Semantic Understanding
STEP 02
Resolution and Aspect Ratio Processing
When you type a prompt and press Generate, the ai image generator does not search a database of existing pictures. It builds a new image from noise using a diffusion process. The model starts with random static, then refines it step by step, guided by how it learned to associate words with visual patterns during training.
This matters for practical reasons. First, every output is unique -- running the same prompt twice produces different images. Second, the model responds to specific language. Saying '50mm portrait lens, f/1.8, shallow depth of field' triggers different visual patterns than saying 'close-up photo of a person.' Understanding this gives you direct control over results.
Step-by-Step: From Blank Page to Finished Image
Here is the actual workflow for producing a usable image with the ai image generator, based on how experienced users approach the tool.
1
Step 1: Define Your Requirements
Before writing a prompt, decide: What is this image for? A blog header needs different composition than a product shot. What aspect ratio does the final placement require? What style matches your brand? These decisions narrow your prompt before you type a single word into the ai image generator.
2
Step 2: Write a Layered Prompt
Use the subject-environment-style-technical formula. Be specific about what matters and leave out what does not. If color palette matters, name the colors. If lighting matters, specify the type. A well-structured prompt in the ai image generator consistently outperforms a longer but vague description.
3
Step 3: Select Model and Settings
Pick the model that matches your intent -- photorealistic for photos, artistic for illustrations. Set the aspect ratio to match your final use. If you are unsure, start with 1:1 and adjust on the next run. The image generator settings act as additional constraints that guide the output.
4
Step 4: Generate, Evaluate, and Refine
Run the prompt and evaluate the result against your original brief. If the composition is right but the style is off, adjust style keywords. If the subject is right but the framing is wrong, change the aspect ratio. Two to three iterations typically reach a usable result. Save your best prompts for reuse.
Limitations Worth Knowing
No ai image generator is perfect. Current models sometimes struggle with text rendering inside images, exact hand anatomy, and very specific spatial relationships between multiple objects. Knowing these limits helps you write prompts that work around them. For text in images, keep it to one or two short words. For hands, specify the pose clearly. For complex scenes, build them in layers using image-to-image workflows.
The technology improves with each model update. Features that were unreliable six months ago, like consistent character faces across multiple generations, are now handled by the latest models available in the ai image generator. Checking which model you are using and staying current with updates directly impacts your output quality.


