Add Picture to Video
Free Overlay Tool
Don't let your video be just a flat layer. Add context, branding, and depth. Use our free tool to add picture to video instantly, creating professional Picture-in-Picture (PiP) effects without complex editing software.
Trusted by creative teams at
PiP Compositor
Multi-layer visual overlay
Waiting for master video layer...
Upload an MP4 to start composing
Select an image to adjust its visual parameters
Introduction
In the lexicon of video editing, the ability to layer one piece of media on top of another is the difference between "Recording" and "Production." A raw recording is just what the camera saw. A production explains what you are seeing.
To explain, you need overlays. You need to put a logo in the corner to show ownership. You need to flash a screenshot of a tweet to prove a point. You need to show a "Before" photo while the "After" video plays. This technique—known as Picture-in-Picture (PiP) or Compositing—usually requires multi-track editors like Premiere or Final Cut. It involves alpha channels, scaling, and keyframing.
FlowVideo AI's Add Picture to Video tool simplifies this physics. We view your video as a canvas. You can drag and drop any image (JPG, PNG, Sticker) onto that canvas. You can pinch to resize it, drag to rotate it, and set exactly when it appears and disappears. It brings the ease of Instagram Stories editing to professional video files.
Why Add Picture to Video? (Deep Dive)
Why layering visual information is critical for retention?
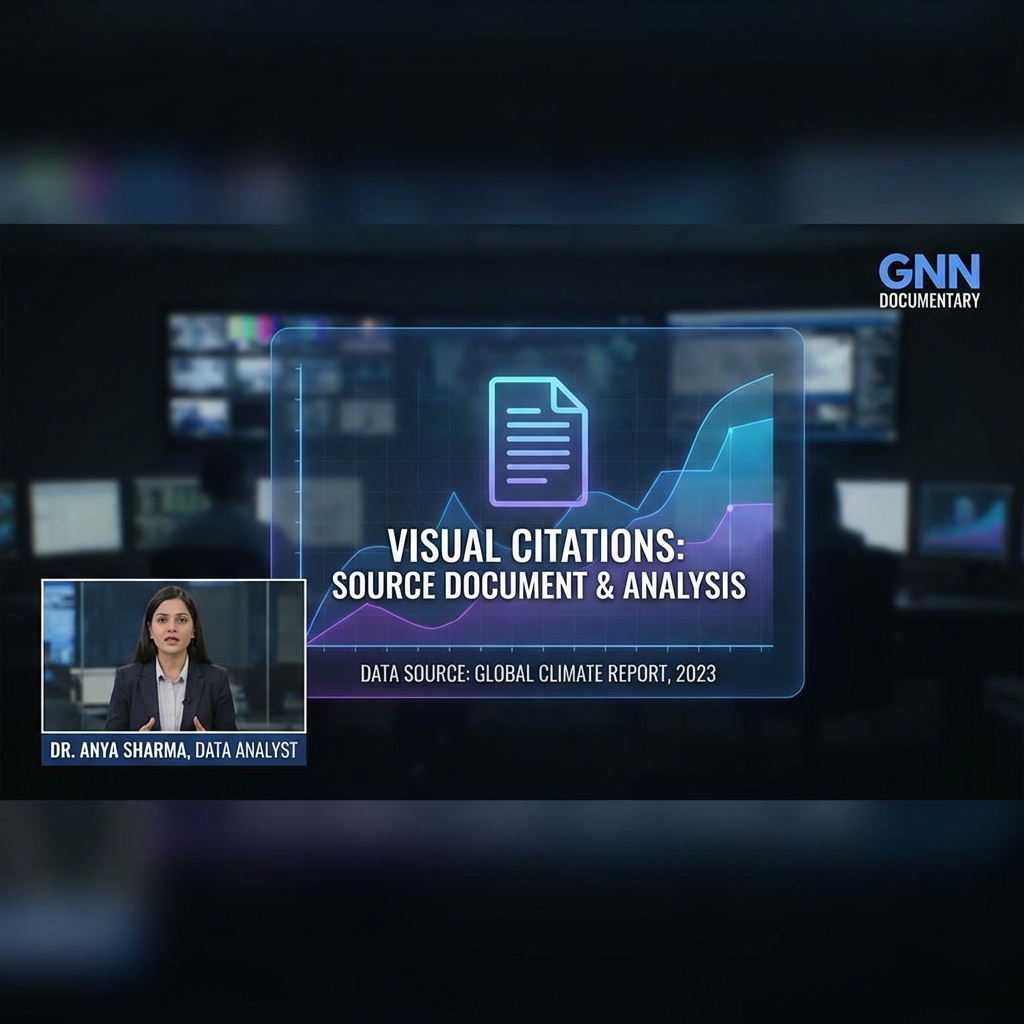
The Evidence Layer (Authority)
We live in a skeptical age. If you say "The stock market crashed," people might not believe you. But if you add picture to video showing the actual graph from Bloomberg while you talk, you establish authority. The Technique: This "Visual Citation" style is the standard for modern video essays and news. It allows you to speak to the camera while simultaneously showing the evidence, doubling the information density of your content.

Branding and Watermarking (Protection)
Content theft is rampant. If a viral account rips your video and posts it, you get zero credit. The Fix: By overlaying your logo (PNG with transparent background) in the corner, you "sign" your work. Even if it gets stolen, your brand remains visible. This is non-negotiable for serious creators and businesses.
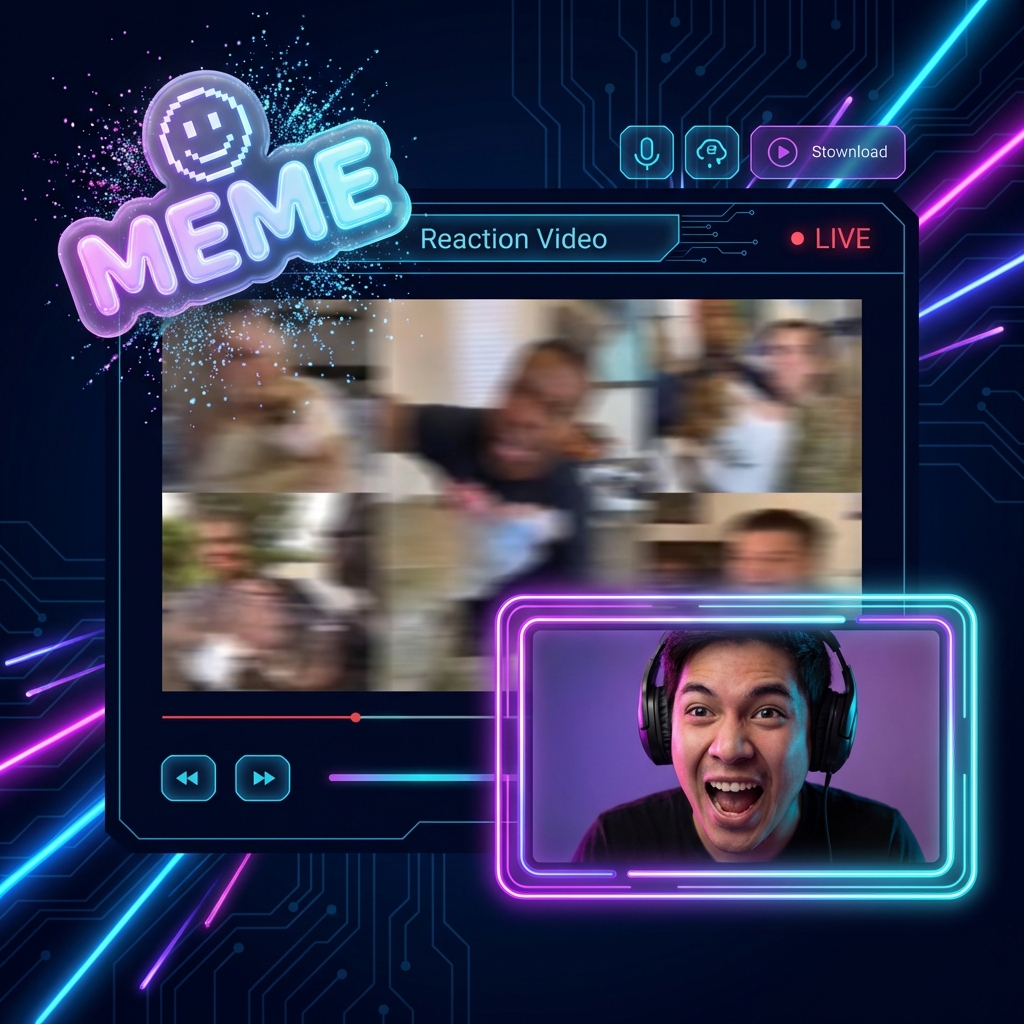
The Reaction Format (Context)
The "Green Screen" or "Reaction" video is the native format of TikTok. It works by putting the speaker on top of an image. The Flip: Our tool allows you to reverse this—putting an image on top of the speaker. The Story: "I ordered this [Show Photo of Dress], but I got this [Video of Rags]." The juxtaposition creates the comedy. It allows for "Show and Tell."
Covering Mistakes (Salvage)
Did you accidentally film something you shouldn't show? A license plate? A messy room? A sensitive document? The Hide: Instead of blurring it (which looks ugly), you can paste a "Sticker" or an emoji over the mistake. It's a quick, aesthetic fix that saves the footage from the trash bin.
The Technology: Compositing Engine
The Technology: Compositing Engine
How do we stack pixels?

Transparency Support (Alpha Channel)
The key to good overlays is handling "Alpha Channels." The Problem: JPEGs don't have transparency. They are rectangular blocks with white backgrounds. The AI Fix: If you upload a JPEG logo with a white background, our AI offers a "Remove Background" button. It instantly detects the logo subject and deletes the white pixels, converting it to a transparent PNG. This ensures your logo floats cleanly over the video, rather than sitting in an ugly white box.
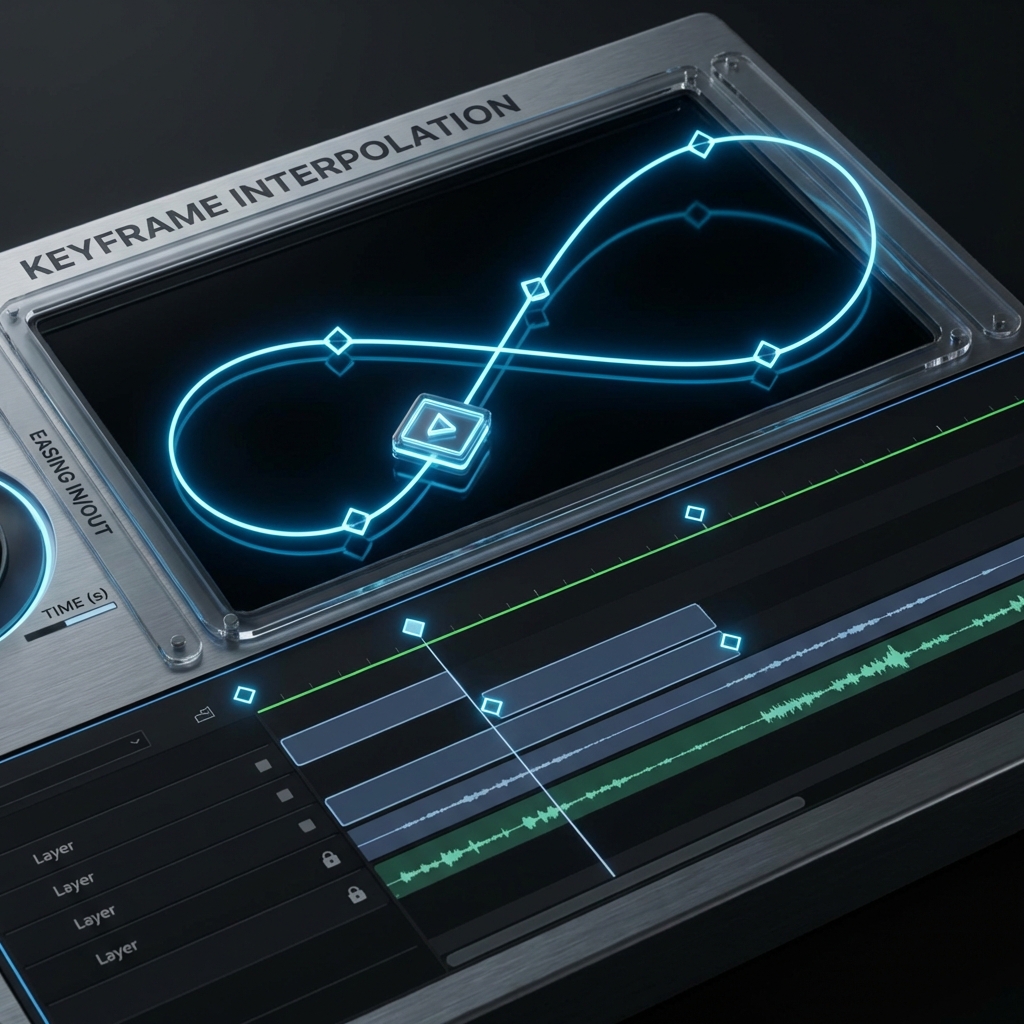
Keyframe Interpolation (Motion)
Static images are boring. Our tool allows for keyframing. The Animation: You can set "Start Position" (Off screen) and "End Position" (Center Screen). The Result: The image slides in. The engine handles the math between the frames (Interpolation) to make the movement smooth. You can make images "Pop," "Slide," or "Fade."
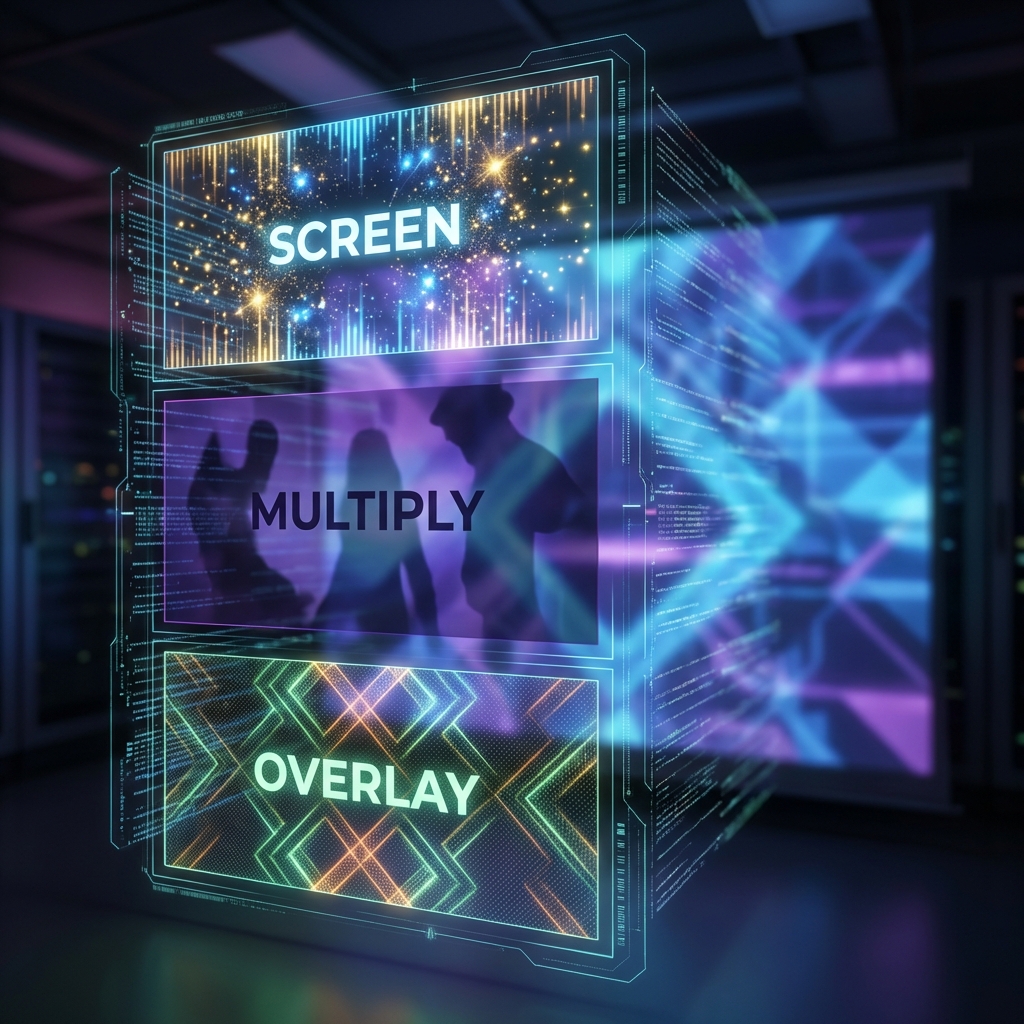
Layer Blending Modes (Artistic)
Sometimes you don't want the image to be opaque. You want it to blend with the video texture. Multiply: Darkens the video behind the image (Good for shadows). Screen: Lightens the video (good for adding lens flares or sparkles overlay). Overlay: Increases contrast. Grain: Adds a "Film Grain" texture image over your clean digital video for a cinematic look.
Step-by-Step Guide: Layering Your Media
Compositing made simple.
Step 1: Upload the Base Video
This is your background layer. Format: MP4, MOV, WEBM. Resolution: We support up to 4K. Orientation: The canvas will adopt the ratio of this base video (e.g., if you upload a vertical video, the workspace becomes vertical).
Step 2: Upload the Overlay Image
This is your foreground layer. Drag & Drop: Pull in your PNG logo, your screenshot, or your sticker. Layers: You can add unlimited images. They will stack as layers (Layer 1 on top of Layer 2). You can reorder them.
Step 3: Position and Scale
Make it fit. Resize: Drag the corner handles. Hold Shift to lock aspect ratio. Rotate: Grab the handle at the top to tilt the image (adds a casual vibe). Snap: The image snaps to the center or edges to help you align it perfectly (Smart Guides).
Step 4: Timing (The Timeline)
When should it appear? The Clip: You will see a small purple bar on the timeline representing the image duration. Trim: Drag the edges to shorten or lengthen duration. Sync: Play the video. Pause exactly when you say "Look at this graph." Drag the image start point to the playhead.
Step 5: Export (Rendering)
Hard Burn: The image is "burned" into the video pixels. It becomes part of the video file and cannot be removed by the viewer. Quality: Choose High Quality to ensure the text on your overlay image stays sharp and readable.
Troubleshooting: Overlay Issues
White Box
Image has no transparency.
Use "Remove Background" tool.
Pixelated
Image is too small.
Upload a High-Res PNG (at least 1000px wide).
Blocks Face
Image is in the way.
Drag it to the Corner or resize it.
Wrong Time
Image appears too early.
Zoom in on the timeline for Frame-Perfect adjustment.
Comparison: Tools for Overlays
| Feature | Instagram Editor | Professional Editor (Premiere) | FlowVideo Overlay Tool |
|---|---|---|---|
| Quality | Compressed | High | High |
| Precision | Low (Thumb) | High (Mouse) | High (Mouse) |
| Background Removal | Limited | Manual | One-Click AI |
| Keyframing | No | Yes (Hard) | Yes (Easy) |
| Cost | Free | expensive | Free |
Industry Use Cases
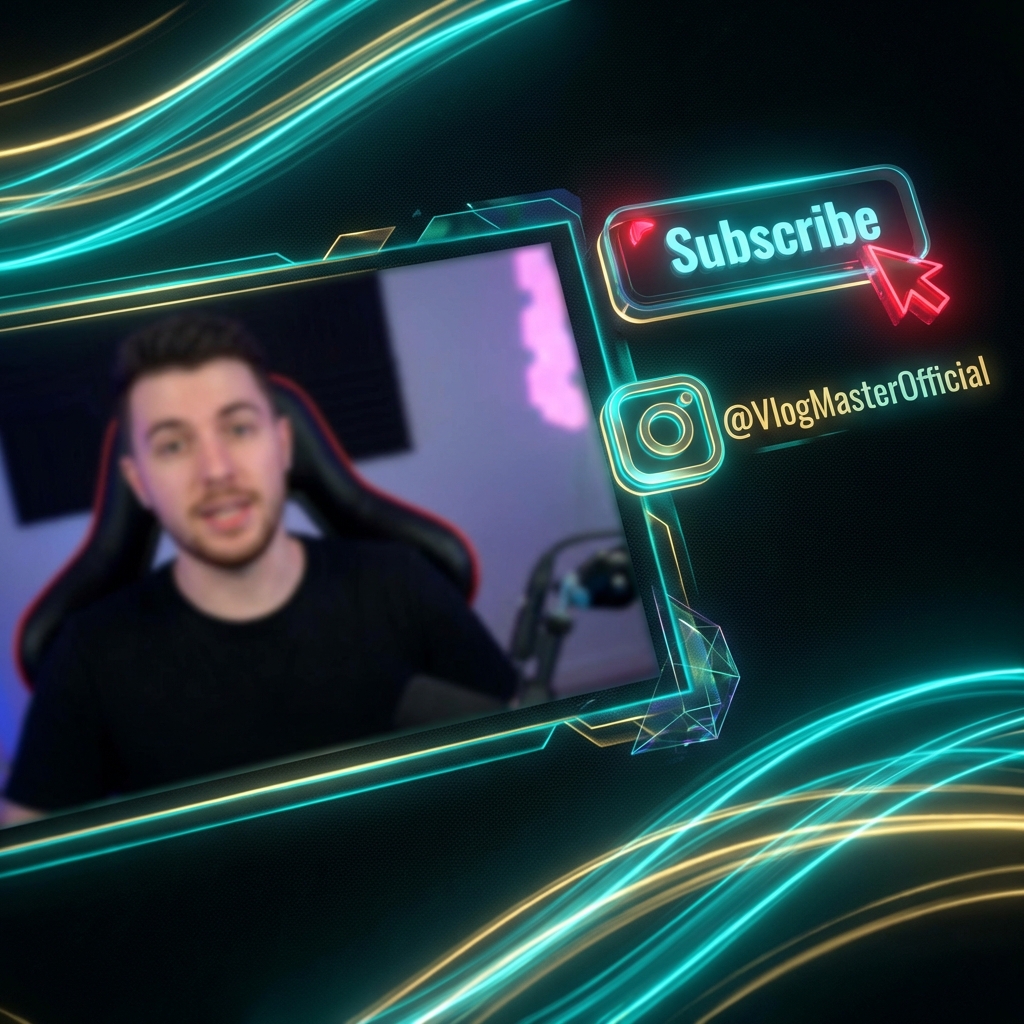
Youtubers (The CTA)
Concept: "Subscribe." Visual: Creators add a "Subscribe Button" animation (a sequence of images) to the bottom of the screen. Benefit: It reminds viewers to act without interrupting the flow of the video speech.
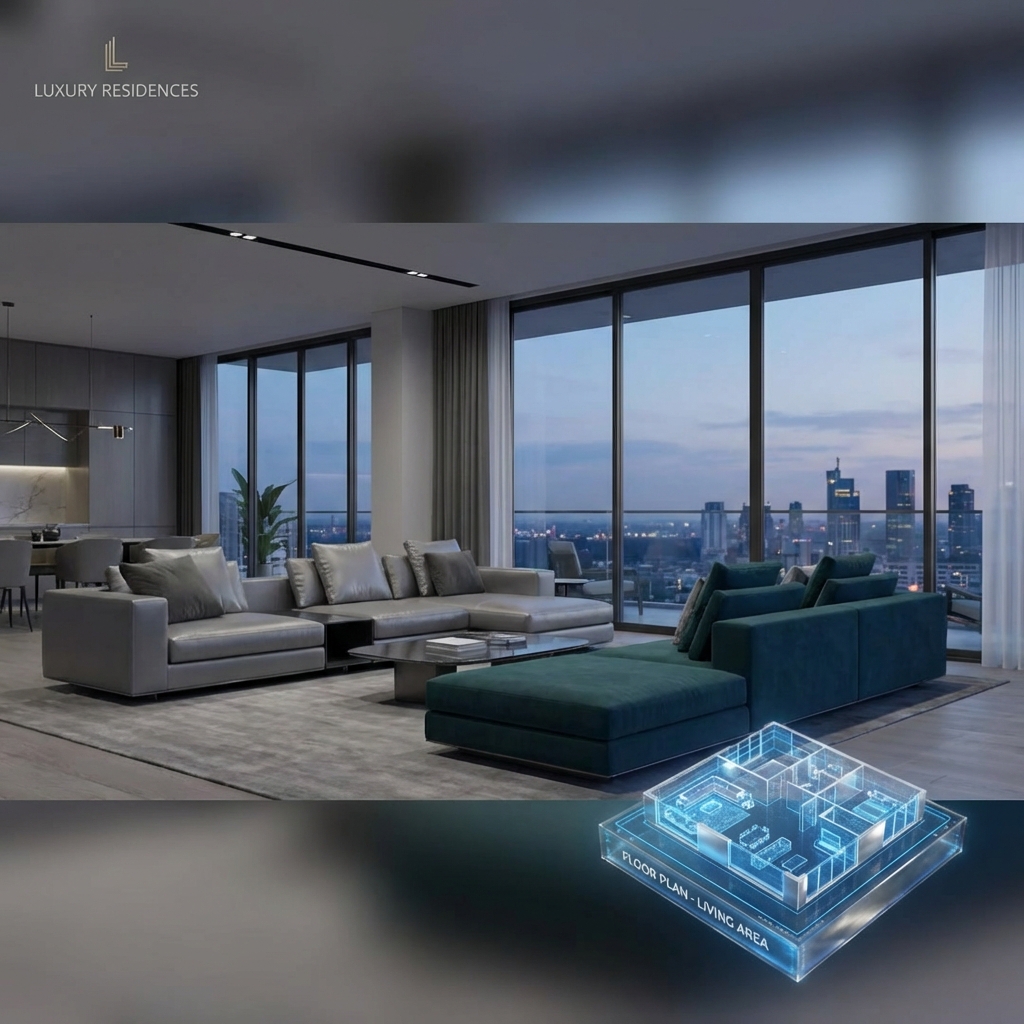
Real Estate Agents
Concept: "Floor Plan." Visual: Video tour of a house. When showing the kitchen, they overlay a floor plan image in the corner showing where in the house they are. Benefit: This spatial context helps buyers understand the layout.
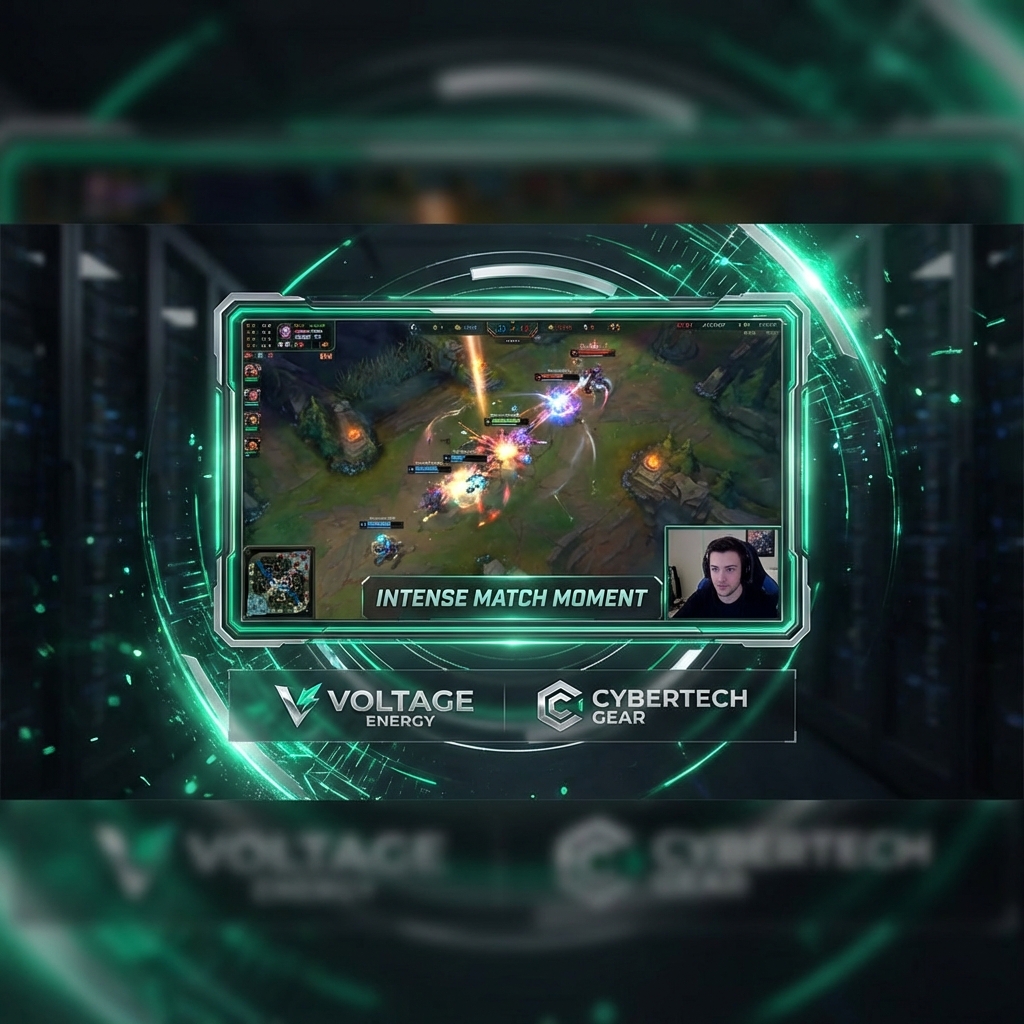
Gamers (Stream Highlights)
Concept: "Facecam Border." Visual: Gameplay video is the base. They overlay a "Facecam Frame" (image) around their webcam video. They also overlay "Sponsor Logos" in the corner. Benefit: Professional branding.

Education
Concept: "The Formula." Visual: A math teacher records themselves solving a problem. They overlay the "Formula Sheet" image on the right side of the screen. Benefit: Students can reference the rules while watching the solution.
What Users Are Saying
Professional polish in seconds.
“Adding my logo to TikToks used to be such a chore using Premiere. This tool is as fast as Instagram but keeps the pro quality.”
Ben T.
Content Creator
“I use the overlay tool to show diagrams while I'm talking. It makes my educational videos so much more engaging for my students.”
Sarah L.
Online Teacher
“The one-click background removal for my app's logo is a lifesaver. No more messing around in Photoshop first.”
Marcus G.
App Developer
Frequently Asked Questions about Adding Pictures
A video without overlays is like a book without illustrations. It works, but it's dry. FlowVideo AI's Add Picture to Video tool gives you the power to annotate, brand, and enhance your footage. Turn your single layer into a rich visual experience.
Add Picture to Video: Overlays, Watermarks, and Compositing Without Premiere
What Picture-in-Picture Actually Does for Your Content
Picture-in-picture video is not just a layout trick. It is the difference between telling someone about a thing and showing them the thing while you talk about it. A product reviewer who overlays the item photo while discussing specs gives viewers a visual anchor. A teacher who places a formula sheet alongside their whiteboard explanation doubles the information density of every frame. FlowVideo lets you add picture to video by treating the video as a canvas and every image as a draggable, resizable, timed layer. You upload your base MP4, drag in a PNG or JPEG, position it where you want, set when it appears and disappears, and export. The image gets burned into the video pixels permanently. No plugins, no timeline tracks to manage, no render queue.
Alpha Channel Support and Automatic Background Removal
The biggest frustration with overlaying images is the white rectangle problem. You upload a logo saved as JPEG and it sits on top of your video inside an ugly white box because JPEGs do not support transparency. Professional editors solve this by requiring you to prepare a PNG with an alpha channel in Photoshop first. FlowVideo skips that step entirely. When you upload a JPEG, the tool detects the subject automatically and offers a one-click background removal option. The AI identifies edges, handles semi-transparent areas like hair or glass, and converts the image to a clean overlay with proper alpha transparency. This means you can grab any logo or product photo from the web, drop it onto your video, and get a professional composite without touching an image editor first. The video overlay tool handles the masking for you.
Keyframe Motion: Making Static Images Move
A static image sitting in the corner for the entire video looks lazy. Keyframe interpolation lets you animate the overlay so it slides in from the left, scales up from a dot, or fades in gradually. You set a start state and an end state and FlowVideo calculates every frame between them. The motion curves are smooth by default but you can switch to linear or ease-in-out depending on the feel you want. This is the same keyframing system used in After Effects and Motion, compressed into two clicks. For creators who add logo to video on every upload, you can save a motion preset so the logo always enters the same way. Consistency builds brand recognition faster than any single visual choice.
Layer Blending Modes for Creative Compositing
Sometimes you do not want an opaque image sitting on top of the video. You want it to interact with the pixels underneath. FlowVideo supports multiple layer blending modes that change how the overlay merges with the base footage. Multiply darkens the video behind the image, useful for shadow effects and dramatic overlays. Screen does the opposite, lightening the video, which works well for lens flare textures and sparkle effects. Overlay increases contrast at the intersection, giving images a punchy embedded look. Grain mode applies a film grain texture across the entire frame, turning clean digital footage into something with analog character. These are not gimmicks. Blending modes are how motion graphics studios achieve composites that look integrated rather than pasted on.
Watermarking Strategy: Visible Protection Without Visual Noise
Content theft is a guaranteed problem once your videos start getting traction. Someone downloads your clip, crops out any on-screen branding, and reposts it as their own. A watermark video approach solves this if done correctly. The mistake most creators make is using a watermark that is either too transparent to notice or so opaque it ruins the viewing experience. FlowVideo gives you precise opacity control from zero to one hundred percent with a slider. The sweet spot for most use cases is around thirty to forty percent opacity, positioned in the lower third where it overlaps with moving footage and becomes very difficult to crop or clone out. Pro users can save this configuration as a Brand Kit that automatically applies the same watermark to every new video in the same position. This turns a manual task into a one-time setup.
Practical Workflow: From Upload to Export in Four Steps
The actual process of using the add image to mp4 pipeline is straightforward. Upload your base video in any standard format. Drag your overlay image onto the canvas. Position it by dragging, resize by pulling corner handles while holding shift to lock the aspect ratio, and rotate if needed. On the timeline, a purple bar represents the image duration. Drag its edges to control exactly which seconds the overlay is visible. If you need the image to appear precisely when you say a specific word, scrub to that frame and snap the bar start point to the playhead. Hit export and the overlay is composited into the final file at the native bitrate of your original footage. No quality loss, no compression artifacts on the overlay text. The whole operation takes under two minutes for a single image and scales linearly if you need to stack multiple layers.